Wondering what happens after you choose a house plan? While the exact order and requirements vary by builder, location, and project, most new home construction follows a similar series of stages. This guide walks through 10 common steps in the home building process, from site preparation and foundation work to the final walkthrough.
Your builder, local building department, and other professionals involved in your project can explain the requirements and schedule for your specific home.
What are the main steps in building a home?
The home building process typically includes pre-construction planning, site work, foundation construction, framing, dry-in, mechanical rough-ins, insulation, drywall, interior finishes, inspections, and a final walkthrough. Some stages may overlap or happen in a different order depending on the builder and local requirements.
What to Expect During the Home Building Process
1. Pre-Construction: Surveys, Permits, and Site Prep
Before construction begins, the project team may complete surveys, soil testing, permit applications, erosion-control measures, and other site preparations required for the property. Depending on the project, these tasks may involve the builder, property owner, surveyor, engineer, site contractor, or other local professionals.
Tip for homeowners: Ask your builder which inspections will be required, when they typically happen, and how change orders are handled.
2. Site Work & Foundation: Slab, Crawl Space, or Basement
Once the site is prepared, excavation and foundation work can begin. Depending on the project, this may include digging, preparing footings, pouring concrete, and installing drainage or waterproofing systems. Foundations support the structure and help manage soil, moisture, and energy.
Common foundation types include slabs, crawl spaces, and basements.
Slab: A concrete base poured at or near ground level. Underground plumbing and other required components are typically installed before the slab is poured. Insulation requirements vary by climate and local code.
Crawl Space: A short, raised foundation supported by stem walls, piers, or other structural components. It typically includes access below the home and may be vented, sealed, or conditioned based on the design and local requirements.
Basement or Walkout Basement: A deeper foundation that creates space below the main floor. Waterproofing, drainage, and radon-resistant features may also be required or recommended based on the site and local code.
Regional note: Waterproofing, termite treatment, drainage systems, frost protection, and other foundation requirements vary by location, climate, soil conditions, and local code.
Every build begins with a house plan. Have you found yours?
3. House Framing & Sheathing
During framing, the home’s layout, walls, floors, and roof structure begin to take shape.
Framing creates the structural framework of the home, outlining rooms, supporting floors and ceilings, and forming the roof structure. Once that framework is in place, sheathing is fastened to exterior walls, the roof, and sometimes floors. This adds rigidity and creates a base for exterior materials such as siding and roofing.
Regional note: Many homes use wood framing, while some use concrete block, steel, or other systems. Coastal, high-wind, and seismic areas may require additional structural details, connections, windows, or installation methods.
4. Dry-In: Making the Home Weather-Tight
During the dry-in stage, roof underlayment and roofing are installed, windows and exterior doors are set, and a water-resistive barrier—often called a WRB or house wrap—is applied. This helps protect the structure from weather so interior work and rough-ins can continue, even though the wall cavities are still open.
Important: Properly installed flashing helps direct water away from windows, doors, joints, and other openings. It must work together with the water-resistive barrier and other exterior materials to help manage moisture.
5. Rough-In: Plumbing, Electrical, and HVAC (MEP)
With the home dried in and the walls still open, licensed trades begin installing major systems, including plumbing lines, electrical wiring and panels, HVAC equipment, and ductwork. The location of these systems depends on the house plan, foundation, climate, mechanical design, and local requirements.
Slab: Some plumbing and other components must be installed before the concrete is poured. Later systems may run through walls, ceilings, chases, or attic spaces depending on the design.
Crawl Space: The space below the home may provide access for plumbing, ductwork, wiring, and future maintenance.
Basement or Walkout Basement: Plumbing, HVAC equipment, electrical components, and other mechanical systems may be located in unfinished or dedicated utility areas.
6. Framing and Rough-In Inspections
Before the walls are closed, the project may undergo one or more inspections covering framing, plumbing, electrical, mechanical systems, or other required work. The number and timing of these inspections depend on the project and local building requirements.
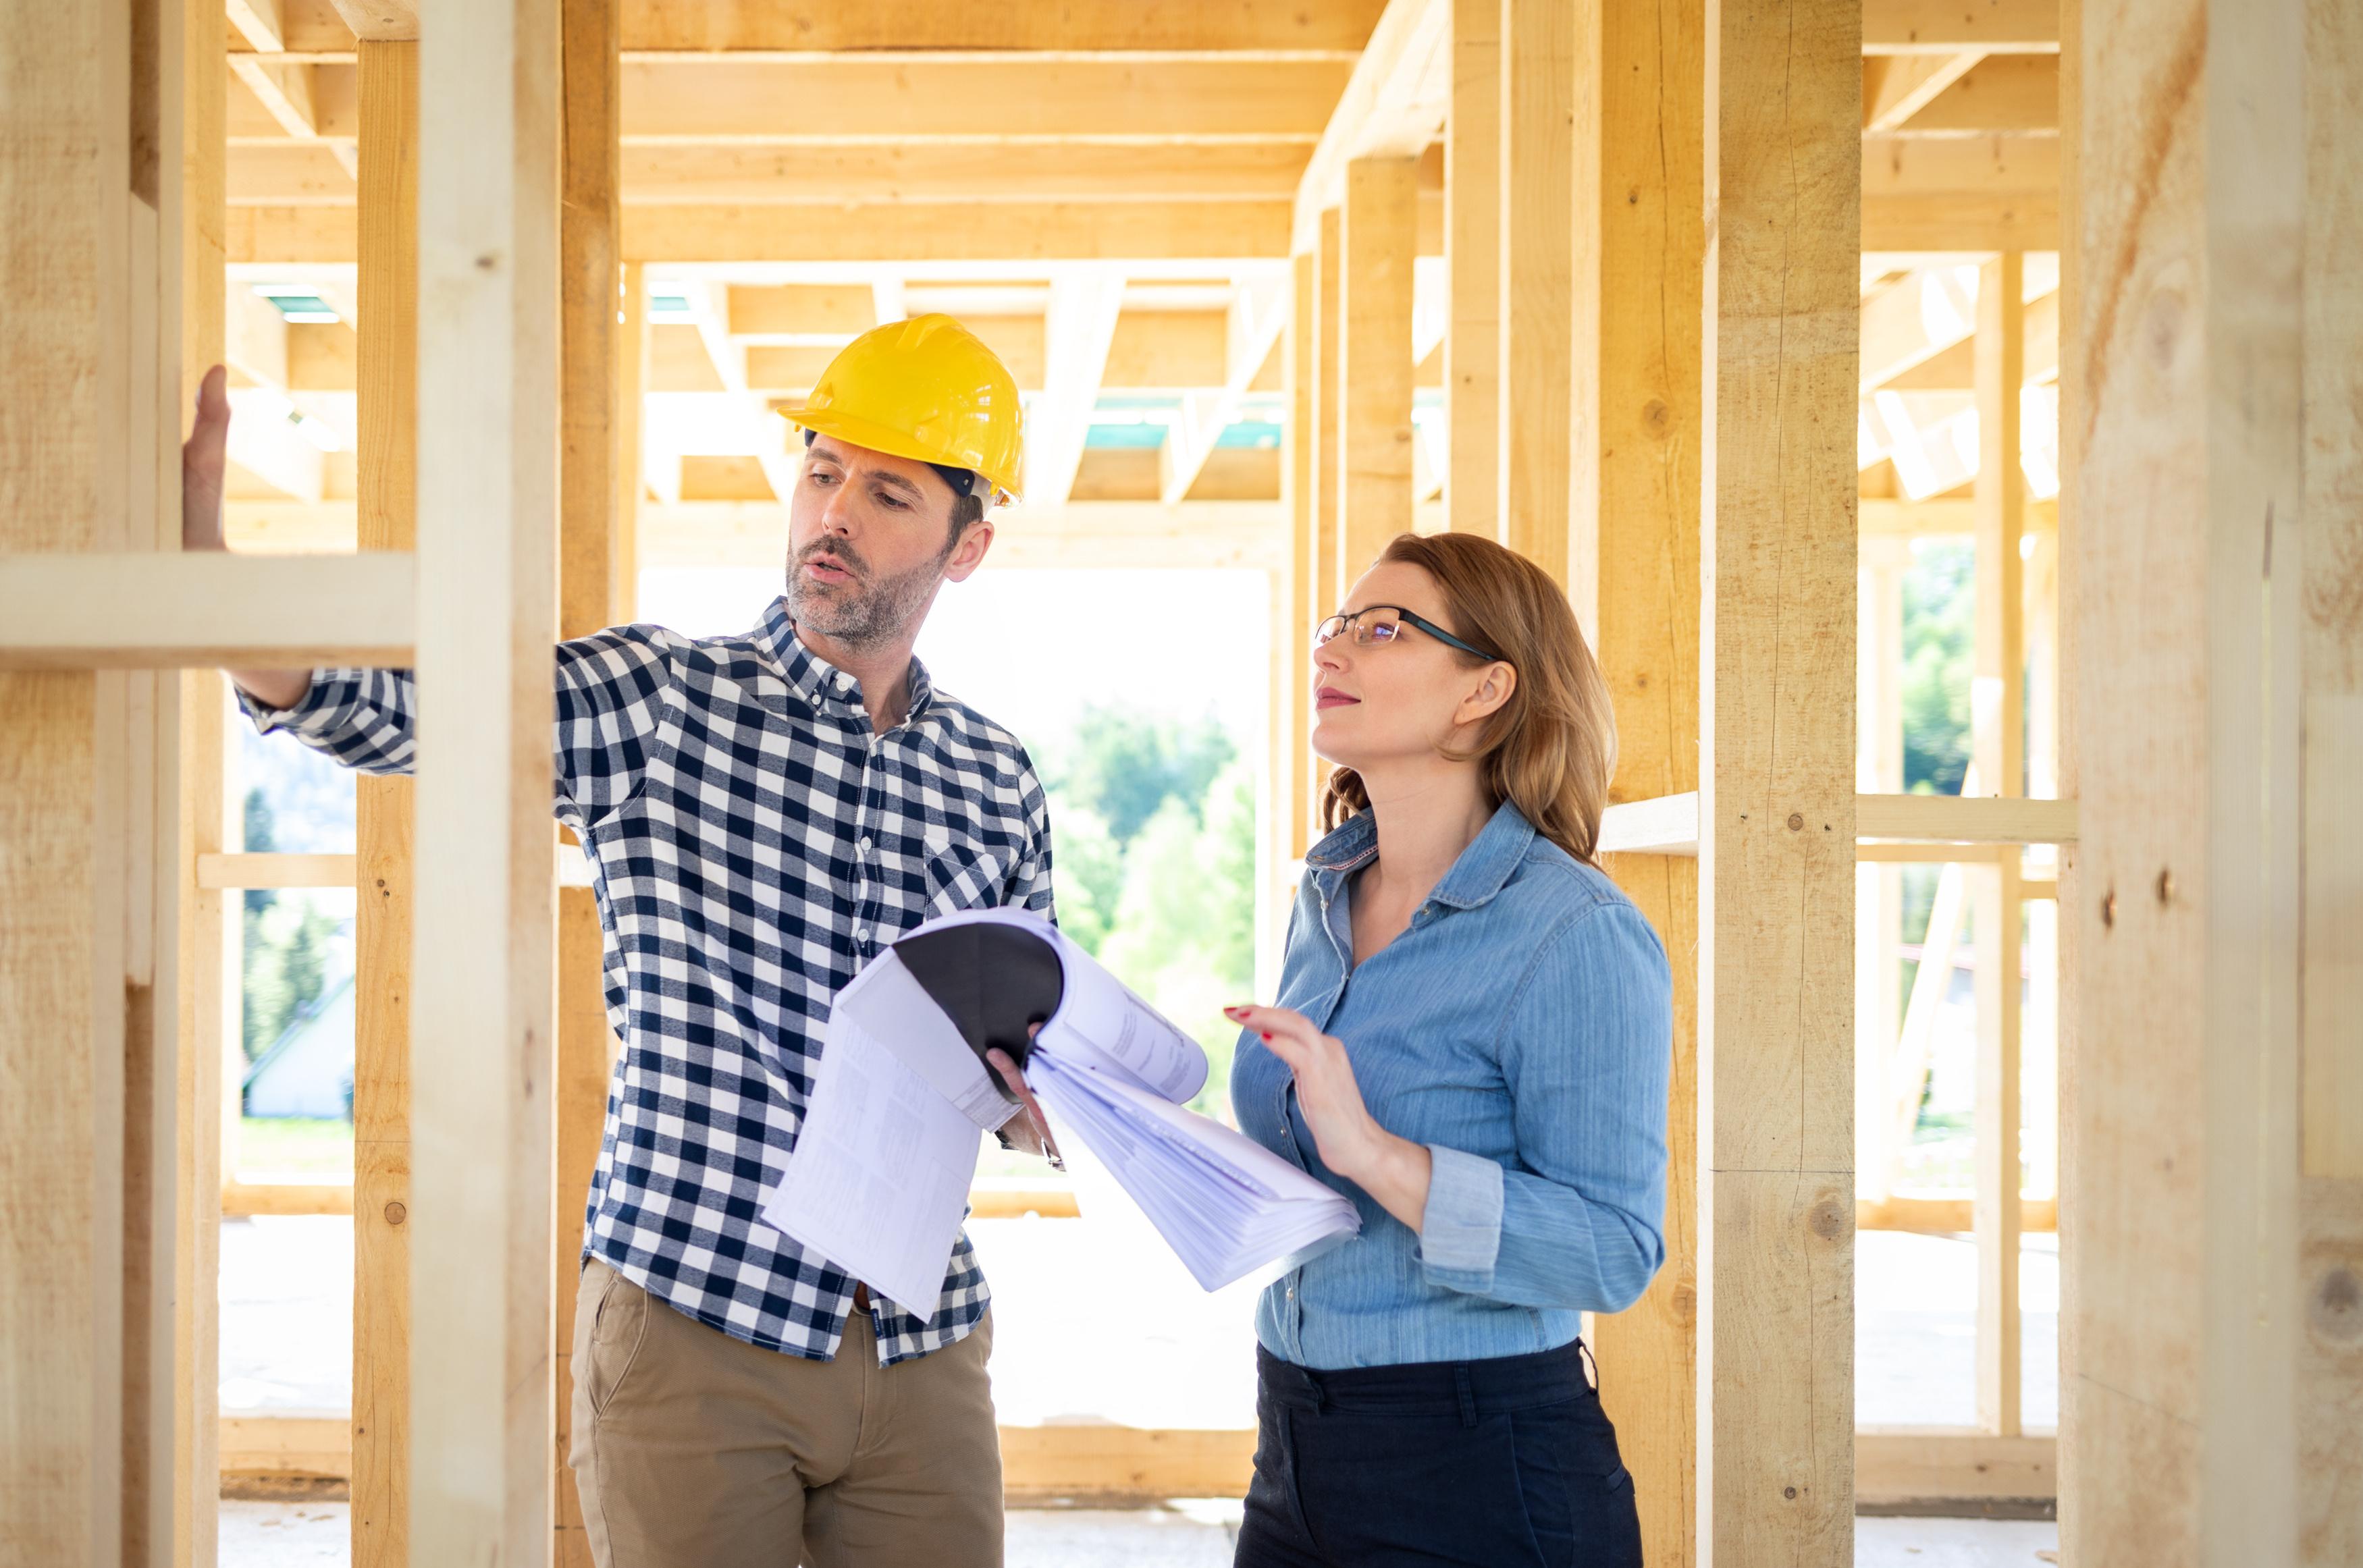
Homeowner tip: Some builders invite homeowners to a frame walk before the walls are covered. This is a chance to review outlet and switch locations, cabinet blocking, plumbing locations, and TV or internet wiring with the builder.
7. Insulation & Air Sealing
Insulation is added to walls, ceilings, attics, and other required areas. Depending on the project, this may include fiberglass batts, blown-in insulation, spray foam, or another approved material. Air-sealing materials are also used around windows, pipes, wires, and other openings to help improve comfort and reduce uncontrolled air leakage.
Regional note: Some areas require an insulation inspection before the walls are closed. Required energy testing, such as blower-door or duct-leakage testing, may happen during this stage or closer to project completion.
8. Drywall Installation
Drywall, or gypsum board, is hung on walls and ceilings, then taped, finished, and prepared for paint. Once complete, the interior begins to look more finished and each room becomes easier to recognize.
Homeowner tip: Review electrical and low-voltage locations with your builder before drywall goes up. Moving outlets or wiring afterward may add cost and time.
9. Interior Finishes & Trim-Out
As work continues inside and outside the home, attention begins to shift toward finishes and final installations. This stage may include trim, interior doors, cabinets, tile, flooring, paint, and countertops. Trades also return for trim-out work, which may include installing light fixtures, faucets, plumbing fixtures, vent covers, switches, outlets, and appliances.
Note: Interior and exterior work often happens in overlapping phases. The exact order depends on the builder’s schedule, material availability, inspections, and project needs.
10. Final Inspection, Certificate of Occupancy & Walkthrough
During the final inspection, the local building department reviews the completed home for compliance with applicable requirements. Once the required approvals are complete, the local authority may issue a Certificate of Occupancy, or a similar approval, confirming that the home is approved for occupancy. The builder may also schedule a final walkthrough to review completed work and identify any remaining items.
During the final walkthrough: Take your time, ask questions, and follow your builder’s walkthrough process. Review doors, windows, fixtures, finishes, and other completed work, and document any items that still need attention.
Frequently Asked Questions About the Home Building Process
How long does the home building process take?
Construction timelines vary based on the house plan, property, permitting, weather, labor availability, materials, inspections, builder workload, and other project details. Your builder can provide the most useful timeline for your specific home.
What happens after a house is framed?
After framing, the home is typically dried in and prepared for plumbing, electrical, and HVAC rough-ins. Required inspections generally happen before insulation and drywall cover the walls.
Can the order of the construction steps change?
Yes. Some phases may overlap or happen in a different order. The sequence can vary based on the builder, climate, foundation type, local requirements, and the needs of the project.
When should I review the house plan with my builder?
It’s helpful to review the house plan with your builder before construction begins. Your builder can help evaluate the plan in relation to the property, local requirements, budget, materials, and any changes you may be considering.
Questions to Ask Your Builder
What inspections will be required, and when do they typically happen?
How do you handle changes after construction begins?
Will I have a frame walk or final walkthrough, and what will each one include?
How do you handle punch-list items at the end of the project?
What local requirements related to energy, weather, soil, or the building site could affect my project?
What decisions will I need to make before each phase begins?
How will schedule changes or delays be communicated?
Understanding the general home building process can help you prepare better questions and know what to expect as construction moves forward. Once you’ve narrowed down your house plan options, review them with your builder to discuss the property, budget, local requirements, and any changes that may be needed.
Explore house plans that fit your needs,
save your favorites, and share them with your builder. Architectural Designs can also help with plan questions and
modification options as you prepare for the next step.